


Quick Answer
To prepare for the Choquequirao Trek, train for endurance, leg strength, downhill control, backpack weight and basic acclimatization. The classic route usually takes 4 to 5 days and covers about 37-40 mi (60-64 km), with steep descents into the Apurimac Canyon and long climbs toward Marampata and Choquequirao.
Start training 6 to 8 weeks before the trek if possible. If you only have 4 weeks, build gradually, test your boots and backpack early, and reduce intensity during the final week so you arrive rested instead of sore.
Table of Contents
If you are wondering how to prepare for Choquequirao Trek, focus on the challenges that actually wear hikers down: long hiking days, hot canyon sections, steep descents, sustained climbs, basic camps and the need to recover well overnight. Many travelers prepare only for altitude, but the real test is the repeated loss and gain of elevation inside the Apurimac Canyon.
| 37-40 mi60-64 km classic route | 4-5 daysclassic trek duration | 6-8 weeksideal training window | 2-3 daysCusco acclimatization |
This preparation matters because the Choquequirao hike is not a quick walk to ruins. You need enough energy to reach the archaeological site, explore it properly and still continue the route the next day.
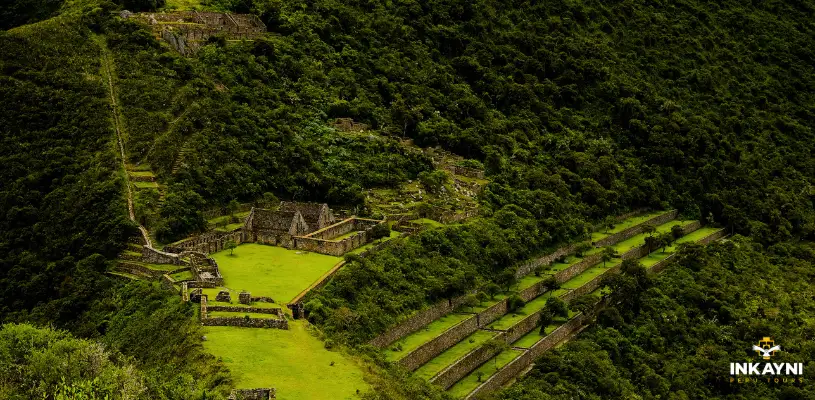
Choquequirao is remote, demanding and much easier to enjoy when you prepare correctly.
PERU’S LEGENDARY HIKEInca Trail to Machu Picchu
Follow the historic trail through mountain passes, Inca sites, and cloud forest paths to Machu Picchu.
What Are You Really Preparing For?
Choquequirao is not technical climbing. You do not need ropes, glacier skills or mountaineering equipment. You need stamina, strong legs, good pacing, weather protection and a realistic packing plan. The hardest sections are usually the descent into the Apurimac Canyon, the climb back toward Santa Rosa and Marampata, and the effort of repeating long hiking days.
| Challenge | Why it matters | How to prepare |
| Long hiking days | Some days can involve 6 to 10 hours of walking, depending on pace, weather and itinerary. | Build endurance with long walks, hill hikes and stairs. |
| Steep descents | Downhill sections can stress knees, ankles and quads more than expected. | Practice controlled descents and use trekking poles. |
| Canyon heat | Lower sections can feel hot and exposed, especially around midday. | Start early, hydrate well and use sun protection. |
| Backpack weight | Extra weight increases fatigue, heat stress and joint impact. | Pack light and test your backpack before the trip. |
| Basic logistics | Camps, water, food and route decisions affect comfort and safety. | Know your itinerary, camps and refill points before starting. |
Important note:
The hardest part of Choquequirao is usually not altitude alone. Terrain, heat, descent impact and accumulated fatigue are often more important.
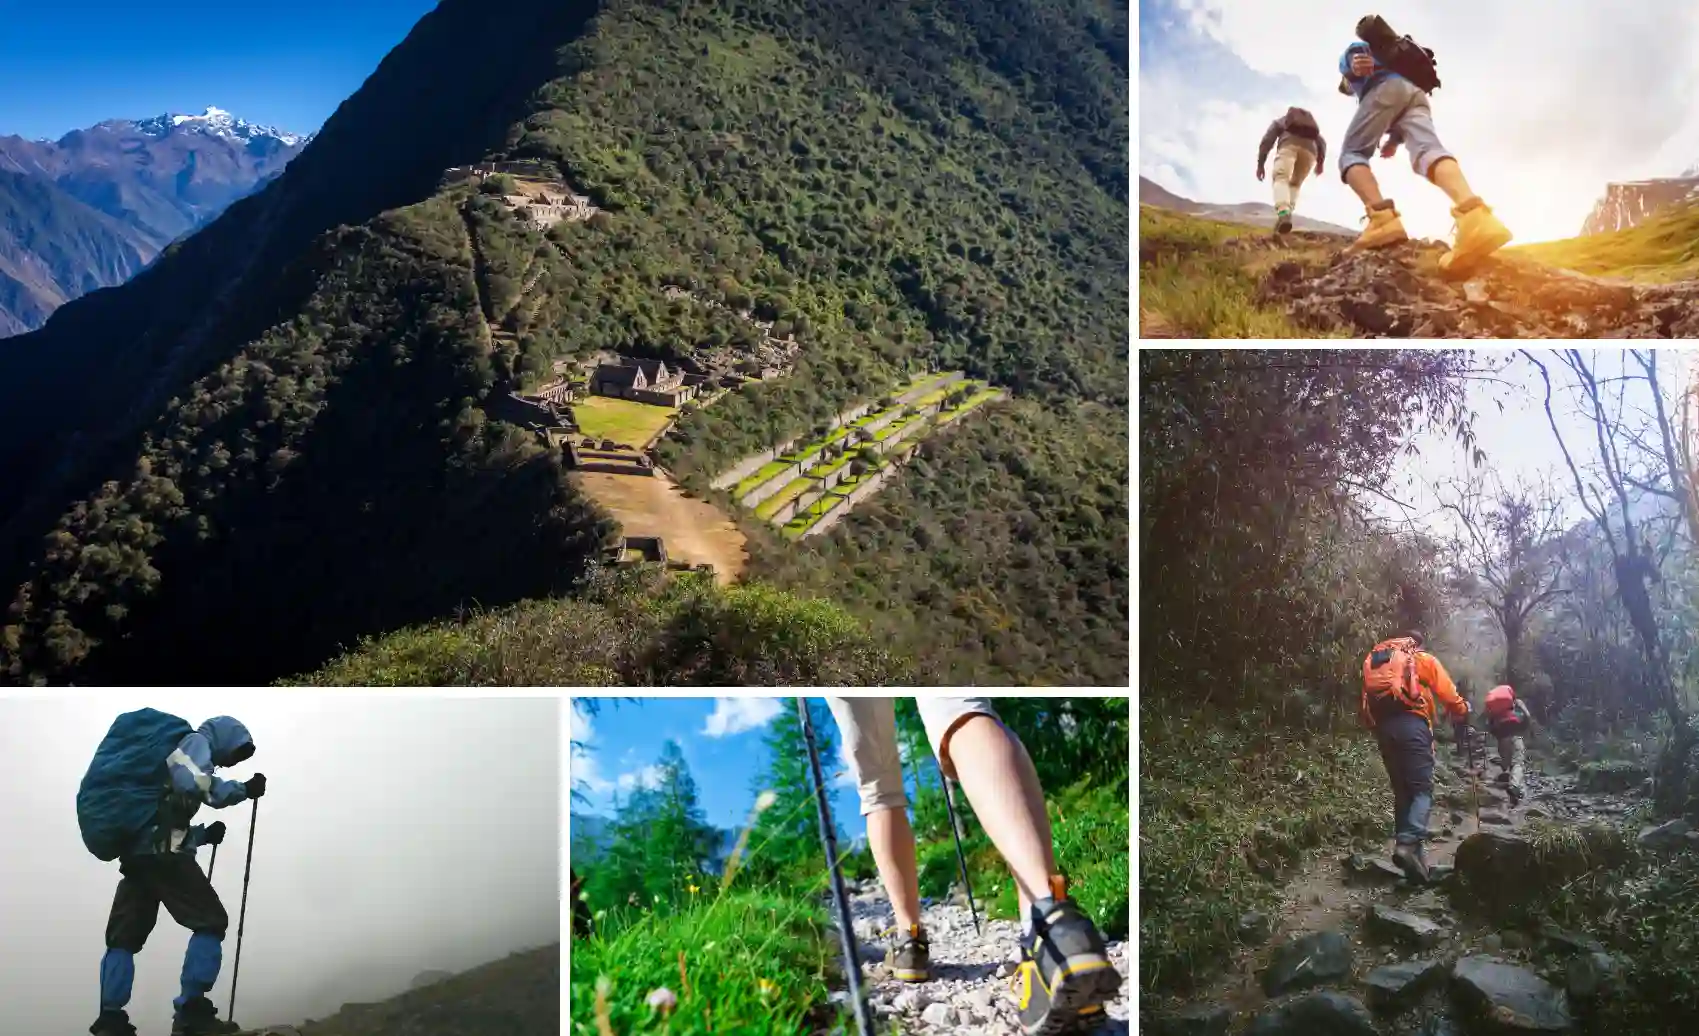
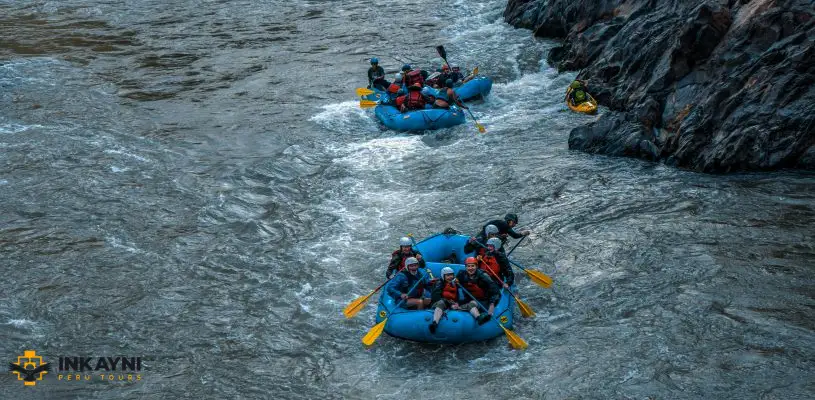
The route demands preparation because of steep climbs, long descents and hot canyon sections.
Choose Your Trek Version Before Training
| Trek version | Typical effort | Preparation focus |
| Classic 4-day trek | About 37-40 mi (60-64 km), depending on start and end points. | Strong endurance, faster recovery and comfort with longer days. |
| Classic 5-day trek | Similar classic route, but with a more balanced rhythm. | Better pacing, more time at Choquequirao and less rushed recovery. |
| Choquequirao to Machu Picchu | A longer expedition with much greater distance and logistics. | Multi-day stamina, stronger acclimatization and higher route control. |
Did you know…?
The classic Choquequirao route is lower than Salkantay, Ausangate and many high-Andean passes, but it should not be treated as easy. The classic route often moves between about 4,987 ft (1,520 m) near Playa Rosalina and around 9,950-10,335 ft (3,033-3,150 m) near Choquequirao and nearby high points.
Training for Choquequirao Trek
The best training combines cardio, uphill walking, downhill control, leg strength, core stability and mobility. Walking on flat ground helps, but it is not enough if you never train stairs, hills or uneven terrain.
Cardio and endurance
Build your base with long walks, hill hikes, stairs, cycling, swimming or easy jogging. The goal is not speed; the goal is to move for several hours without burning out early. If you live at sea level, this becomes more important because the effort will feel different after arriving in Cusco.
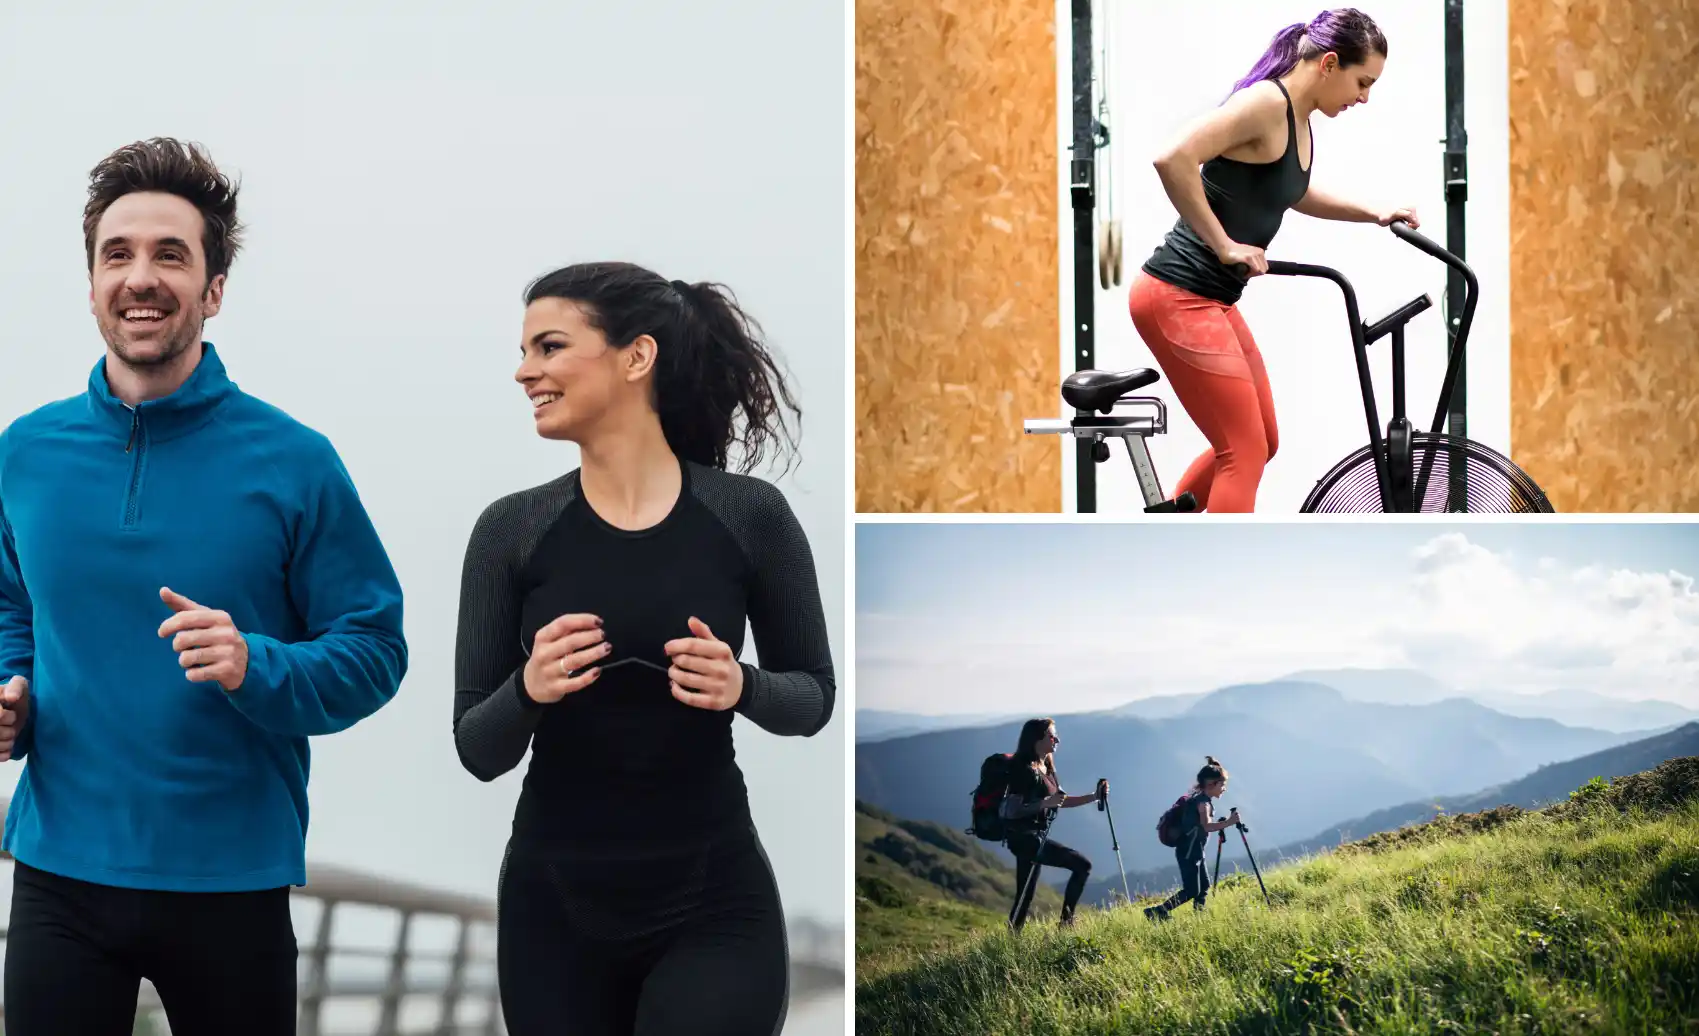
Cardio training helps your body tolerate long hiking days and repeated climbs.
Leg and core strength
Add squats, lunges, step-ups, calf raises and planks. These exercises help with climbing, balance and backpack control. For Choquequirao, downhill training matters too, because long descents can punish knees and ankles.

Strong legs and core make climbs, descents and backpack weight easier to manage.
Flexibility and recovery
Stretch calves, hamstrings, quads, hips and lower back for 10 to 15 minutes after training. This will not replace endurance, but it can reduce stiffness and help you recover better between sessions.

Stretching and mobility work help with recovery after long training sessions.
Mountain hikes and gym work
If you can hike in the mountains before traveling to Peru, do it. Mountain hikes help your feet, knees and lungs adapt to uneven ground. If you do not have mountains nearby, use stairs, incline treadmill sessions and gym exercises. The gym is not a replacement for hiking, but it helps when outdoor terrain is limited.
Warning:
Do not test new boots, a new backpack or a heavy pack for the first time on the trail. Use your real hiking setup during training.
Training Timeline
If possible, start 6 to 8 weeks before the trek. If you already hike regularly, you may need less time. If you are sedentary or coming from sea level, start earlier and progress slowly.
| Time before trek | Training focus | Practical goal |
| 8-6 weeks before | Base endurance, light strength and regular walks. | Walk 1-2 hours comfortably several times per week. |
| 6-4 weeks before | Hills, stairs, longer weekend hikes and leg/core strength. | Complete a 3-4 hour hike without feeling destroyed the next day. |
| 4-2 weeks before | Train with your boots, backpack and trekking poles. | Test your real gear and adjust weight before travel. |
| Final week | Reduce intensity and prioritize sleep, hydration and mobility. | Arrive rested, not sore. |
If you only have 4 weeks
A 4-week plan can help, but it cannot replace months of hiking experience. Keep it progressive and avoid heavy training in the final days.
| Week | Goal | What to do |
| Week 1 | Build a base | Do 3 walks of 1-2 hours, add easy stairs or slopes, and start basic squats and planks. |
| Week 2 | Add intensity | Include uphill walking, cycling or light jogging, plus lunges or step-ups twice per week. |
| Week 3 | Test your setup | Do one 3-4 hour hike with your boots and daypack. Adjust footwear and backpack weight. |
| Week 4 | Arrive fresh | Reduce intensity, keep short walks, stretch, hydrate and sleep well. |
Mental Preparation
Mental preparation matters because the trek can feel long, hot and repetitive in the hardest sections. You may not be physically defeated, but fatigue can make the next climb feel bigger than it is. Keep a steady pace, eat before you are empty, drink before you are desperate, and break the day into sections instead of thinking only about the final destination.
Choquequirao is suitable for many active travelers, including first-time trekkers who prepare properly. It is not reserved only for expert mountaineers, but it does punish improvisation.
Best Time and Weather Preparation
The best time to visit Choquequirao is usually the dry season, especially from May to September, when the trail is more stable and canyon sections are easier to manage. April and October can still work if you accept some weather variation. From November to March or early April, rain can make the route muddier, slower and more demanding.
| Season | What to prepare for |
| May to September | Sun, dust, cold nights, stable trails and stronger demand for services. |
| April and October | Mixed weather, possible rain and more flexible conditions. |
| November to March | Mud, slippery sections, rain gear, slower pacing and more caution on descents. |
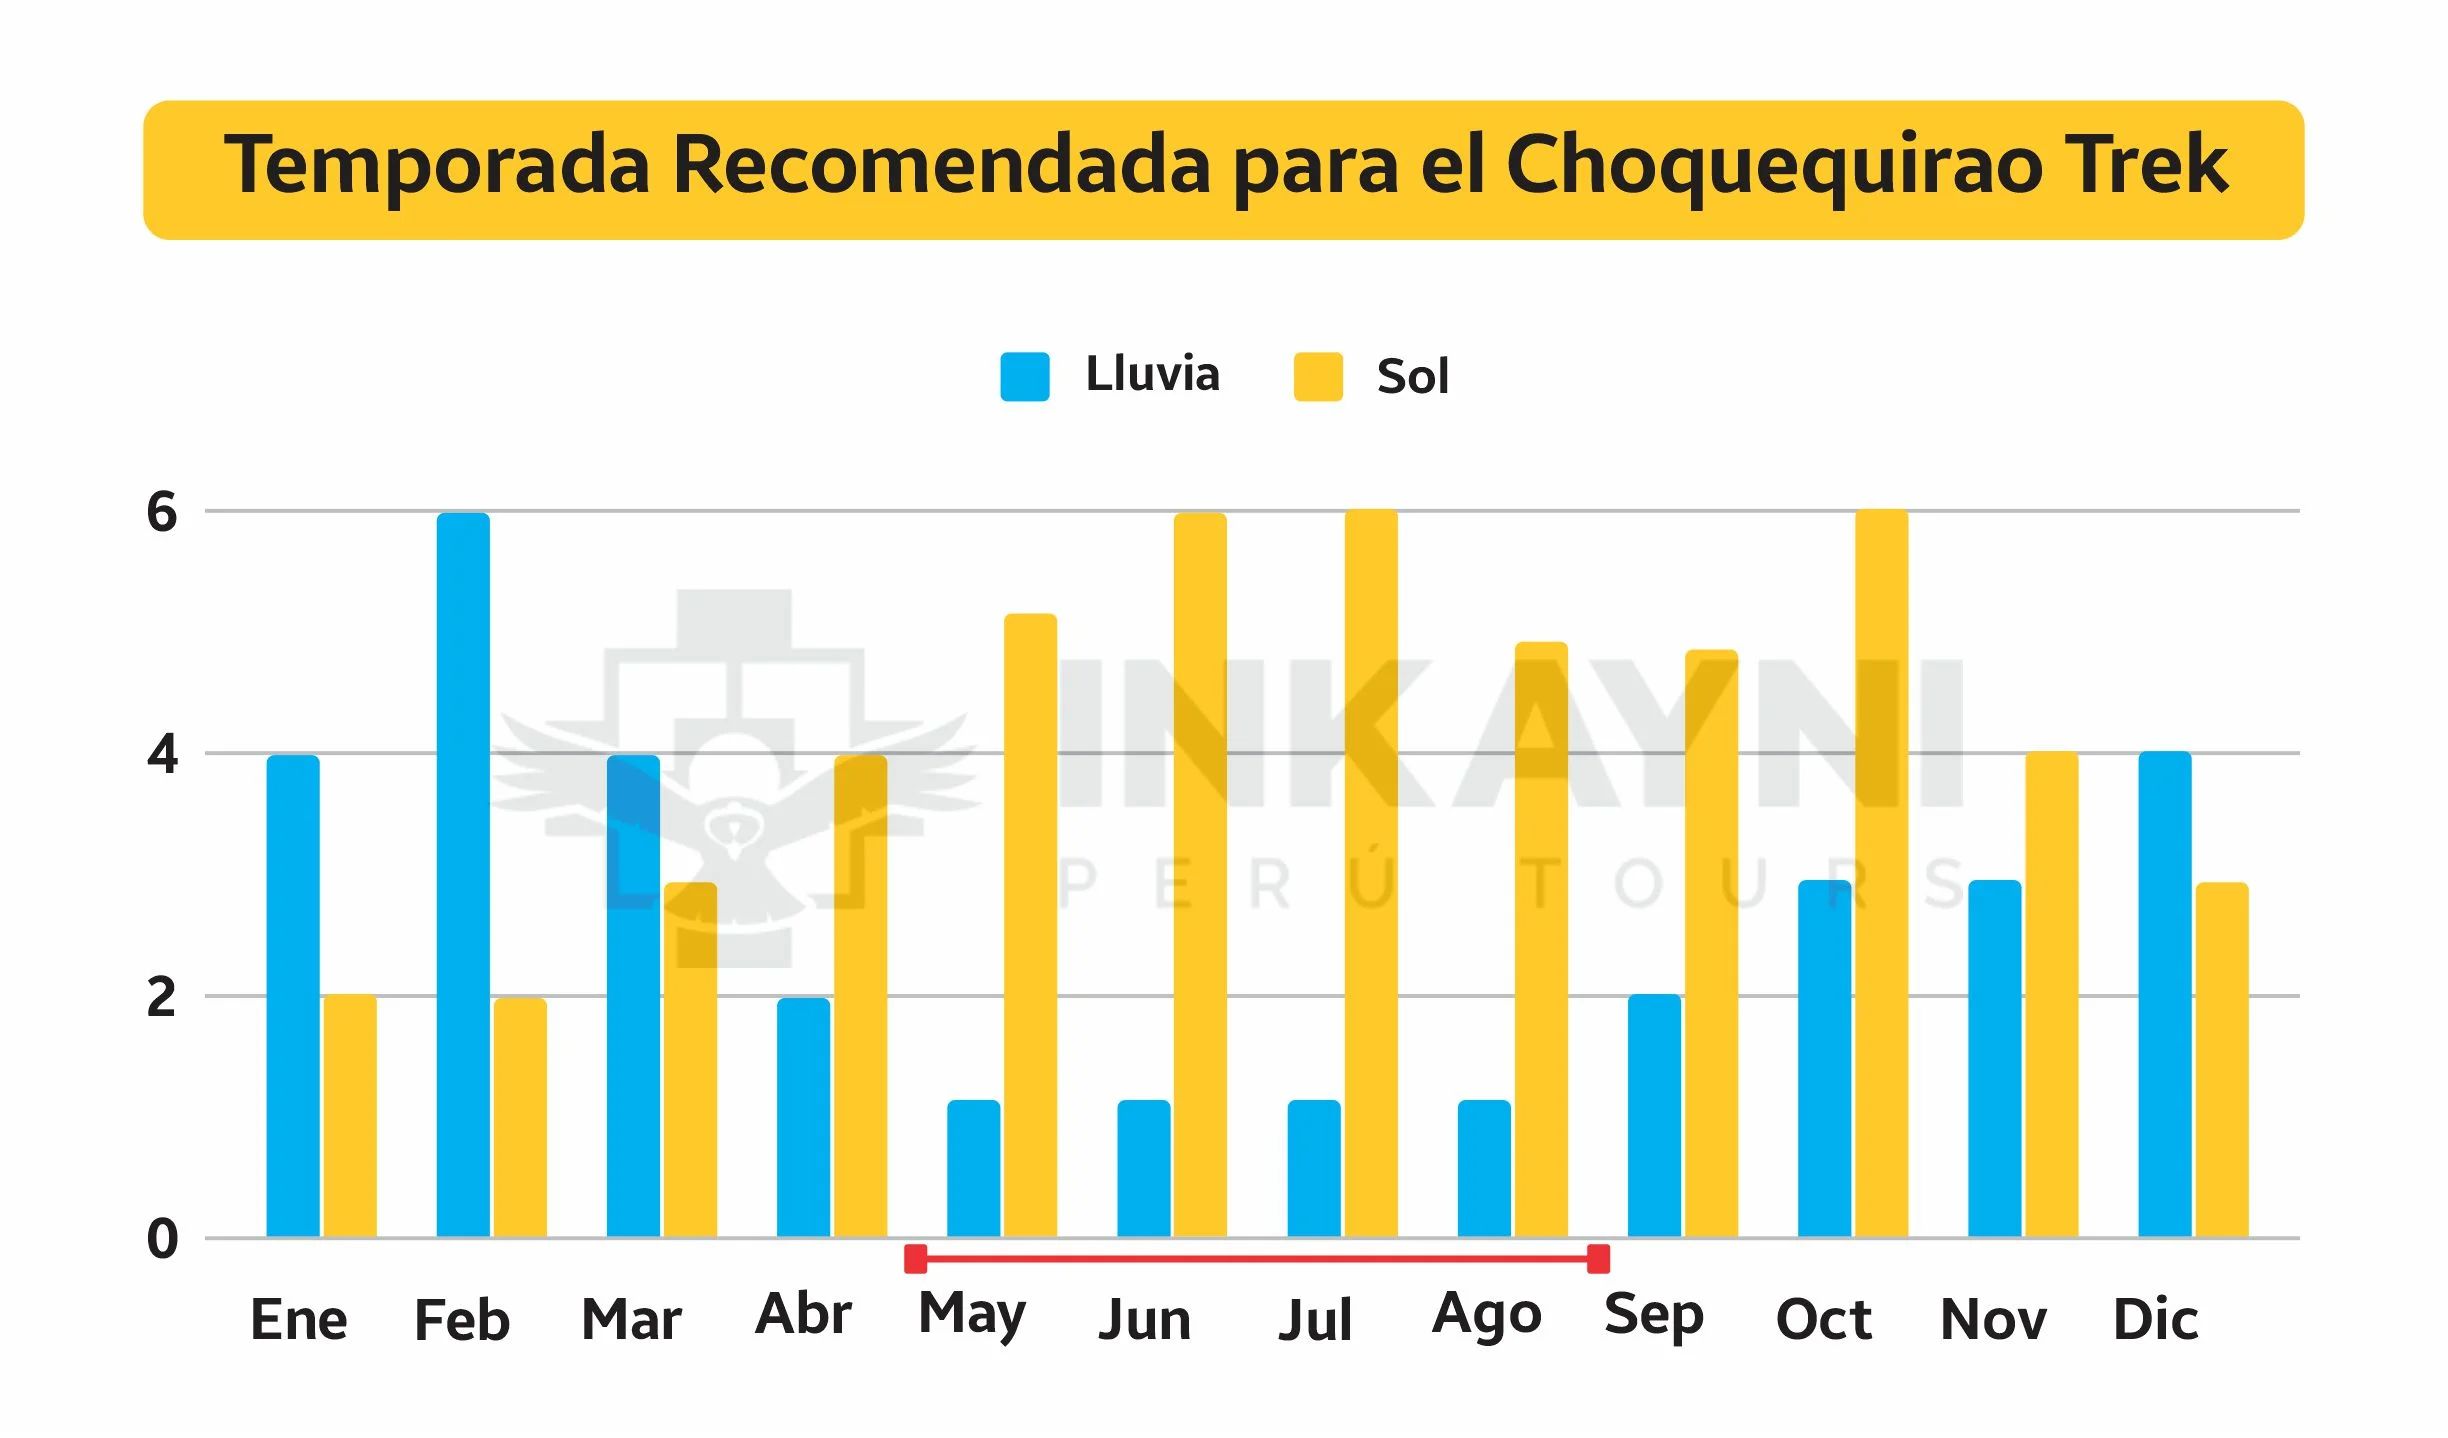
Choose your season according to trail stability, weather tolerance and hiking experience.
Dry season preparation
From May to September, expect more stable trail conditions, stronger sun exposure during the day and colder nights at camp. Bring sunscreen, sunglasses, a hat, a buff for dust, warm layers and tested footwear with good grip.

Dry season usually gives more stable trail conditions, but sun and dust become stronger.
Rainy season preparation
From November to March or early April, rain can make steep sections slippery, slow and more tiring. Bring a waterproof jacket, pack rain cover, quick-dry clothing, trekking poles and dry bags for important items. If you are a first-time hiker, consider whether a drier month would give you a safer and more enjoyable experience.

Rainy season requires stronger waterproofing, better footwear and slower pacing.
Temperature changes during the route
Choquequirao weather changes because the route moves through different elevations and ecosystems. Lower canyon sections can feel hot and exposed, sometimes around 77-104°F (25-40°C). Higher areas and nights can feel much colder, often around 32-66°F (0-19°C), depending on season and camp location.
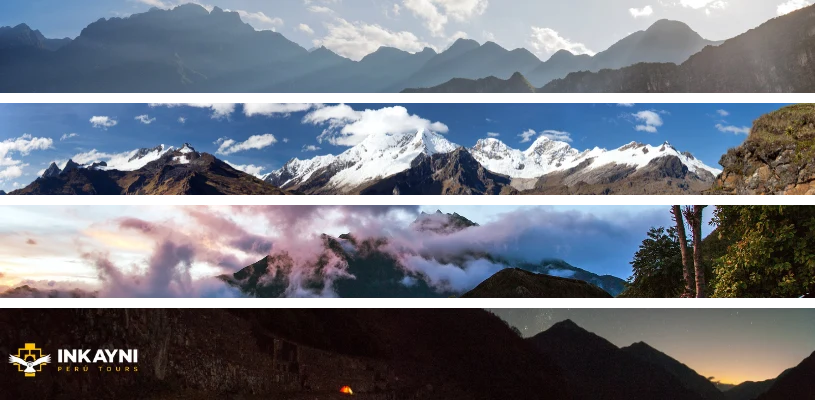
The route can shift from warm canyon weather to cold nights and misty mountain sections.
Acclimatization Before the Trek
The classic Choquequirao route is lower than Salkantay or Ausangate, but acclimatization still matters. Choquequirao sits around 9,950-10,335 ft (3,033-3,150 m), while Cusco is higher at about 11,152 ft (3,399 m). Spend 2 to 3 days in Cusco or the Sacred Valley before the trek if your schedule allows it.
Use those days for light walks, simple meals, hydration and sleep. Avoid heavy alcohol before the trek. If you have heart, lung, knee, ankle or blood pressure concerns, speak with a doctor before choosing a remote multi-day route.
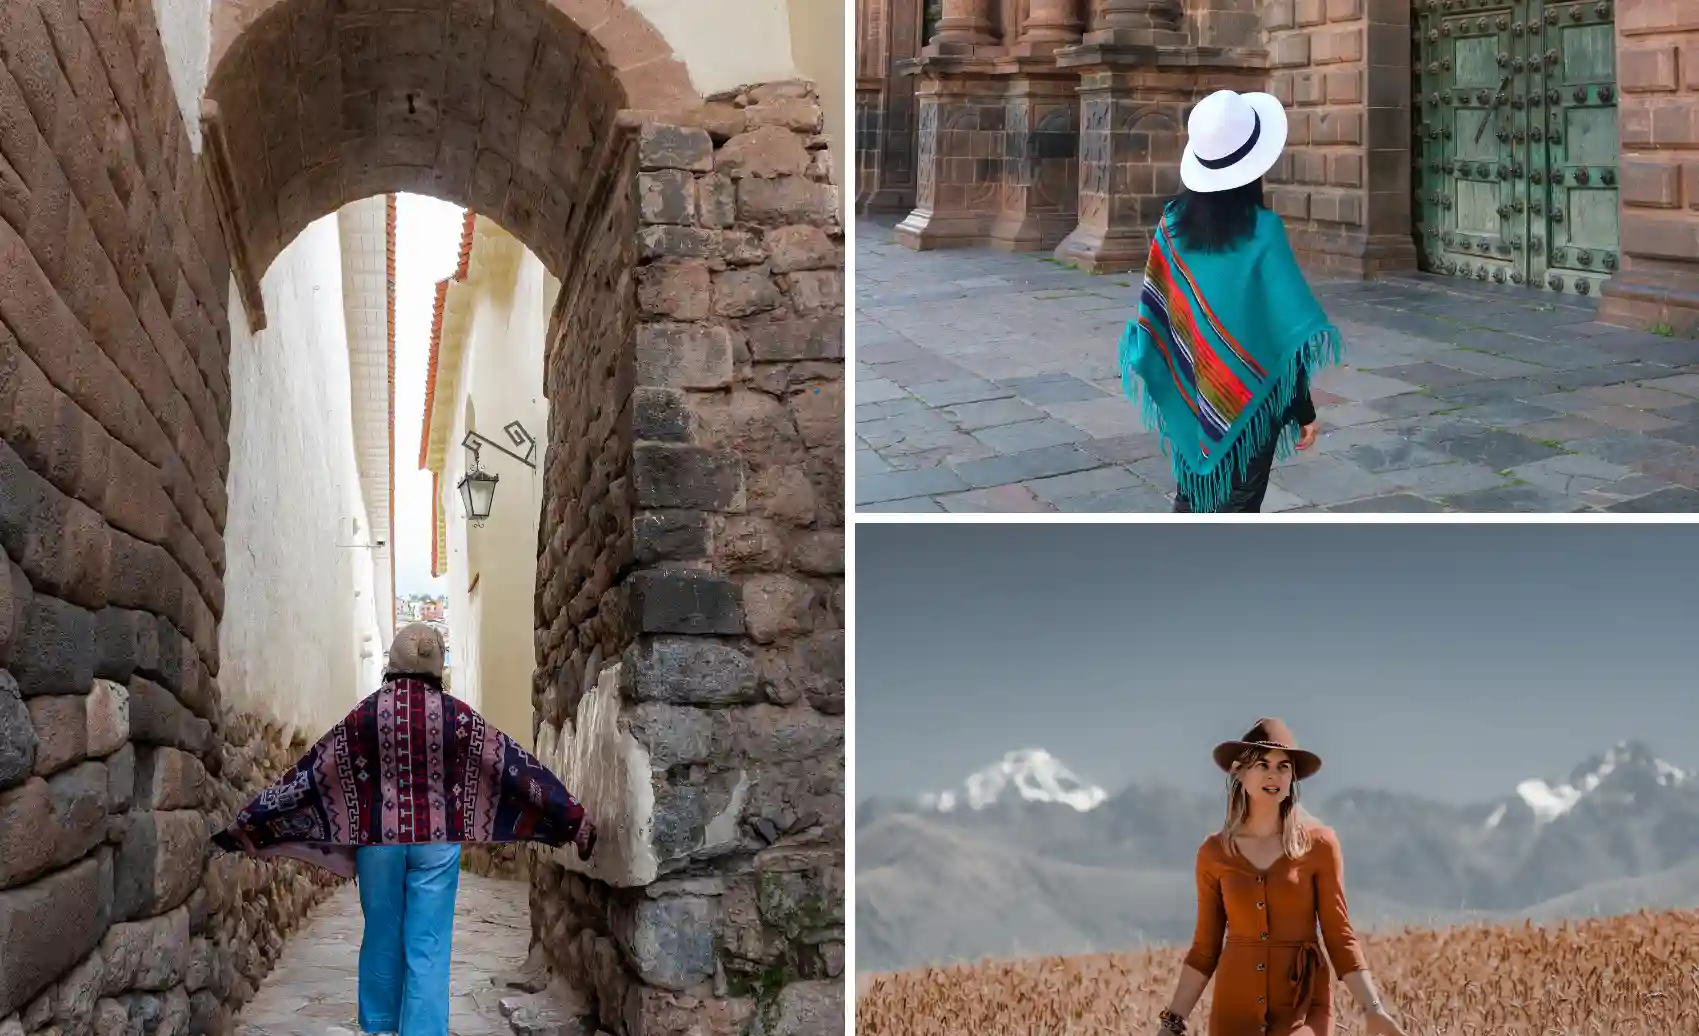
Use your first days in Cusco for light movement, rest and altitude adjustment.
What to Pack for Choquequirao Trek
Packing for Choquequirao is about balance. You need enough gear for heat, cold nights, rain, camp comfort and safety, but carrying too much weight makes the route harder. If you go with an organized operator, confirm what they provide before packing your own tent, cooking gear or sleeping equipment.
| Category | Recommended items |
| Footwear | Broken-in hiking boots or trekking shoes with strong grip, plus camp sandals. |
| Clothing | Quick-dry shirts, hiking pants, fleece or warm layer, waterproof jacket, sleep clothes, trekking socks and underwear. |
| Sun and rain | Hat, sunglasses, sunscreen, buff, waterproof shell, pack cover and dry bags. |
| Trail support | Trekking poles, headlamp, refillable bottle, water filter or purification tablets. |
| Health and documents | Personal medication, basic first aid, hand sanitizer, cash in soles, passport and travel insurance details. |

Pack for heat, cold nights, rain and long hiking days without overloading your backpack.
Guided vs independent packing
Guided travelers usually carry a lighter daypack while the operator manages tents, meals, mule support and route logistics. Independent hikers need a more complete plan because they may carry or arrange food, water treatment, shelter, sleeping gear, stove and emergency backup.
Practical note:
If you are doing Choquequirao independently, do not copy a guided-tour packing list. Your pack will be heavier and your margin for error is smaller.

Independent hikers need a more complete gear plan than guided travelers.
Electronics and personal items
Carry your phone, power bank, extra batteries and camera if needed. A GPS device or offline map can help independent hikers, but it should not replace route knowledge. Drones should only be carried if you have confirmed they are allowed in the places where you plan to use them.

Keep electronics simple, charged and protected from rain and dust.
First aid kit
Bring a small first aid kit with blister care, bandages, antiseptic, pain relief, personal medication, stomach medicine and any treatment recommended by your doctor. On a remote route, small discomforts can become serious if ignored.

A basic first aid kit is part of responsible preparation.
Food and Hydration
Food and water planning matter because Choquequirao repeats effort day after day. Before the trek, eat simple meals with complex carbohydrates, protein and healthy fats. Avoid heavy alcohol and very greasy food while your body is still adjusting to altitude.
During long hiking days, carry easy trail snacks such as nuts, dried fruit, energy bars, crackers or chocolate. If you hike with an agency, meals are usually handled for you, but you should still bring personal snacks that you know your body tolerates.

Eat simple, balanced meals before the trek so your body adjusts well.
Hydration is critical because the Apurimac Canyon can be hot and exposed. As a planning reference, many hikers need around 2 to 3 liters of water per long hiking day, sometimes more in hot canyon sections. Bring purification tablets or a filter if you are not sure about water safety.

Plan your water strategy before the trail, especially if you hike without a guide.
Camps and Route Logistics
Knowing the main camps and villages helps you prepare food, water, cash, pacing and recovery. Facilities can be basic and conditions may vary by season, so treat these points as planning references, not fixed guarantees.
| Place | Why it matters for preparation |
| Cachora | Common access town with basic lodging, shops and food options before starting the route. |
| Cocamasana | Often used as a route reference with views over the valley landscape. |
| Chiquisca | Useful camping reference after the first descent, with basic services depending on season. |
| Playa Rosalina | Low point near the Apurimac River; hot conditions can make the next climb harder. |
| Santa Rosa | Reference point on the climb out of the canyon; services can be simple and vary. |
| Marampata | Important village before Choquequirao, with small lodging and food options depending on availability. |

Camps and villages shape your pace, food planning and overnight recovery.
Common Mistakes Before the Trek
Most problems come from underestimating simple things: downhill impact, heat, backpack weight, hydration and recovery. These mistakes are easy to avoid if you prepare for the real route, not for an easy walk to ruins.
| Mistake | How to avoid it |
| Training only at the last minute | Build gradually and reduce intensity during the final week. |
| Ignoring downhill practice | Train descents, step-downs and trekking pole use. |
| Using new boots on the trek | Break in footwear during training hikes. |
| Packing too much | Pack light and confirm what your operator provides. |
| Assuming lower altitude means easy hiking | Train for terrain, heat and repeated elevation changes. |
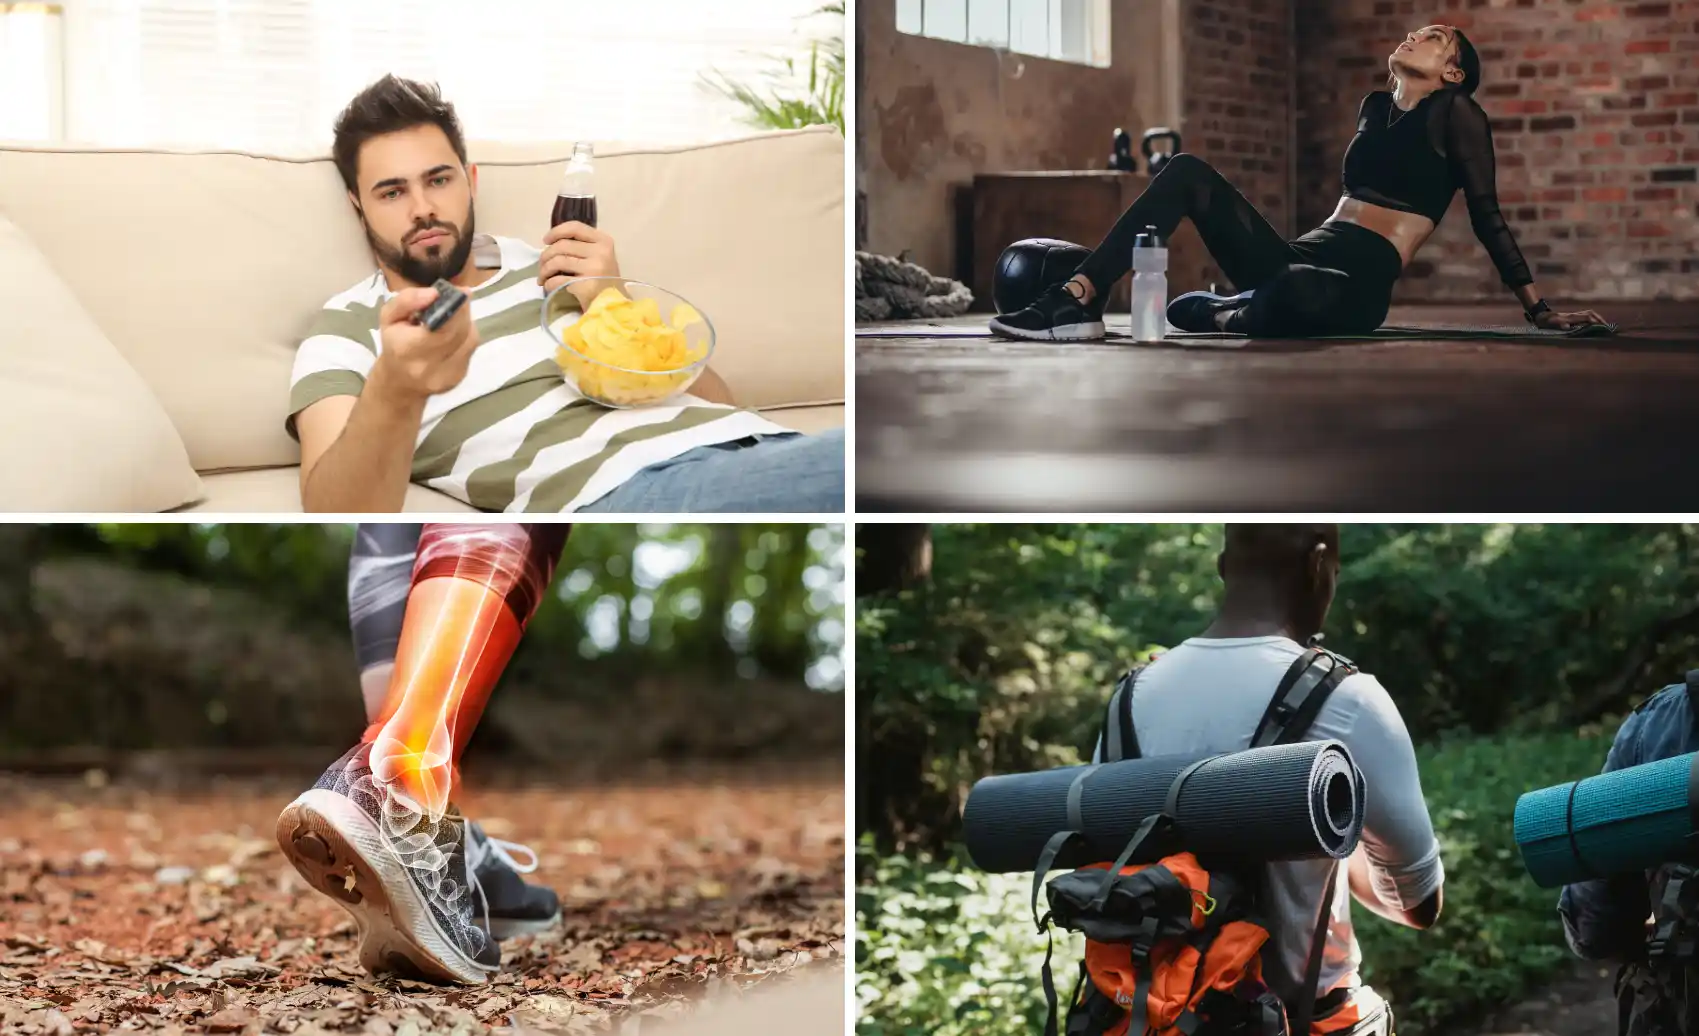
Small preparation mistakes can become serious problems on a remote multi-day route.
Independent or Guided Choquequirao Trek?
Independent trekking is possible for experienced hikers who can manage transport, camps, food, water purification, route decisions, cash and emergency response. For most first-time visitors, a guided trek is safer and easier because the logistics are more demanding than they look online.
| Option | Best for | Main responsibility |
| Independent hike | Experienced trekkers with gear and remote-route confidence. | Food, camps, water, navigation, transport and safety. |
| Guided trek | Travelers who want logistics, meals, pacing and safety handled. | Fitness, personal gear, acclimatization and realistic expectations. |
| Private guided trek | Travelers who want better pacing and flexibility. | Higher budget, but more control over rhythm and rest. |
Before you book:
Choquequirao does not require the same advance permit system as the Inca Trail, but that does not make it casual. You still need transport, entrance logistics, camps, food, water strategy and a realistic safety plan.
How Inkayni Helps You Prepare
A well-organized Choquequirao trek reduces avoidable stress. Inkayni Peru Tours can help with transport from Cusco, campsite logistics, meals, mule support, pacing, local guidance and route interpretation, so you can focus on walking, recovering and understanding the site.
The Choquequirao Trek 5 Days is usually the better option for travelers who want more time at Choquequirao and a less rushed pace than the compressed 4-day version.

A guided trek helps control logistics, pacing and safety on a remote route.
What the operator should solve for you
Before booking, ask what is included: transport, tents, meals, mule support, guide, emergency planning, campsite organization and route pacing. Good logistics do not make the trek effortless, but they reduce the number of things that can go wrong.
| Support area | Why it matters |
| Guides | They help manage pace, explain the route and respond to changing conditions. |
| Meals | Consistent food improves recovery during a multi-day trek. |
| Camping equipment | Good tents and camp organization improve sleep and comfort. |
| Small groups | Smaller groups usually allow better pacing and more personal attention. |
| Responsible travel | Local support, waste control and route respect matter on a fragile remote trail. |

Camp logistics can make a major difference in recovery and comfort.
Final Preparation Checklist
| Before you leave Cusco | Check this |
| Fitness | You can walk several hours, climb steadily and descend without knee pain. |
| Gear | Your boots, backpack, rain layer and trekking poles have been tested. |
| Weather | You are packed for sun, cold nights and possible rain. |
| Hydration | You have bottles or a hydration bladder plus a water treatment plan if needed. |
| Acclimatization | You have spent 2 to 3 days adjusting in Cusco or the Sacred Valley when possible. |
| Logistics | You know your route, camps, transport, food plan and emergency support. |
Prepare well, but do not let preparation become fear. Choquequirao is demanding, not impossible. The goal is to arrive with enough fitness, gear and patience to enjoy the route instead of fighting against every climb.
Frequently Asked Questions About Preparing for Choquequirao Trek
How long should I train for the Choquequirao Trek?
Is Choquequirao hard because of altitude?
How fit do I need to be for Choquequirao?
Should I train with a backpack?
What exercises help most for Choquequirao?
How many days should I acclimatize before Choquequirao?
What should I pack for Choquequirao?
How much water should I carry?
Is the 4-day or 5-day Choquequirao Trek easier to prepare for?
Can I do Choquequirao without a guide?
What is the best season to prepare for?
What mistakes should I avoid before the trek?
Autor
Shared:


Top Must-Read Articles!


If you liked this article and the information you found, give us 5 stars!
 (Ninguna valoración todavía)
 Loading...